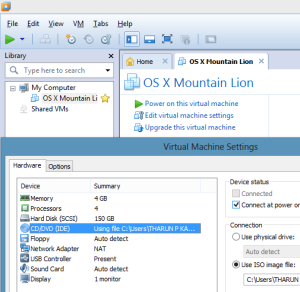
All right, your almost there in setting up VMware. Now you need to load up VMware from your Programs List, Click File and then select Open. When it shows a dialog box to select the vmware file, just navigate to the folder “OS X Mountain Lion” and select “OS X Mountain Lion” in it.
Now you need to click “Edit virtual machine settings” and you could see another dialog box with settings.
Here you can increase the RAM to 2 GB or more, increase the processors to 2 or 4
Another important thing here is to select “CD/DVD (IDE)” and select the setting “Use ISO image file”, after that click Browse and navigate to “VMware 8.x SeriesTools” and select “darwin.iso” (Please download the file by clicking the link).
Why are we loading this? Well basically if you run Mac OS X Mountain Lion for the first time, you would see it in 1024 x 768 resolution and for those who has monitors or laptop’s having screen resolution more than that like 1600 x 1200 which is mine, you need to run this tool. I will explain how to run it at the next step.
Now, If you want to access some files from Windows, then select the “Option” tab, click “Shared Folders”, select Always Enabled option on the right and click Add. Now just go click Next on the dialog box and select “Browse” option and select a folder you would like to share. (For example, Music folder)
All right, now that’s all for the settings and now select Ok and Power up select “Power on this virtual machine”. Please note that it would take up to 5 minutes for the first boot and later on it would take up to 1 minute! So don’t worry about the delay as that’s a usual delay!
Now go through the setup in which you can see on the screen, Connect to iTunes if you want, and that’s it for the installation and you can see the desktop with maximum 1024 x 768 resolution. Now you will see VMware Tools drive in the desktop of Mac, open it and you could see a folder and inside that folder, There is a file named “Install VMware Tools” and I want you to double click that file and run the installation. While you open that installer, you will see a box which says “This package will run a program to determine if the software can be installed. To keep your computer secure, you should only run programs or install software from a trusted source. If you’re not sure about this software’s source, click Cancel to stop the program and installation.” Please ignore that message & click Continue because this software is perfectly fine to run and it just gives you the ability to run your Mac on the full resolution that your computer can support. After that it will ask whether to reboot, so go ahead click reboot and wait for the Mac to load up. Again, for some users, it would say “The installation failed.” well, don’t worry about that, you just need to reboot the virtual machine manually (Click Apple logo on the top to select Restart options). After it Mac loads back, select the full screen option in vmware and you can get your native display resolution!
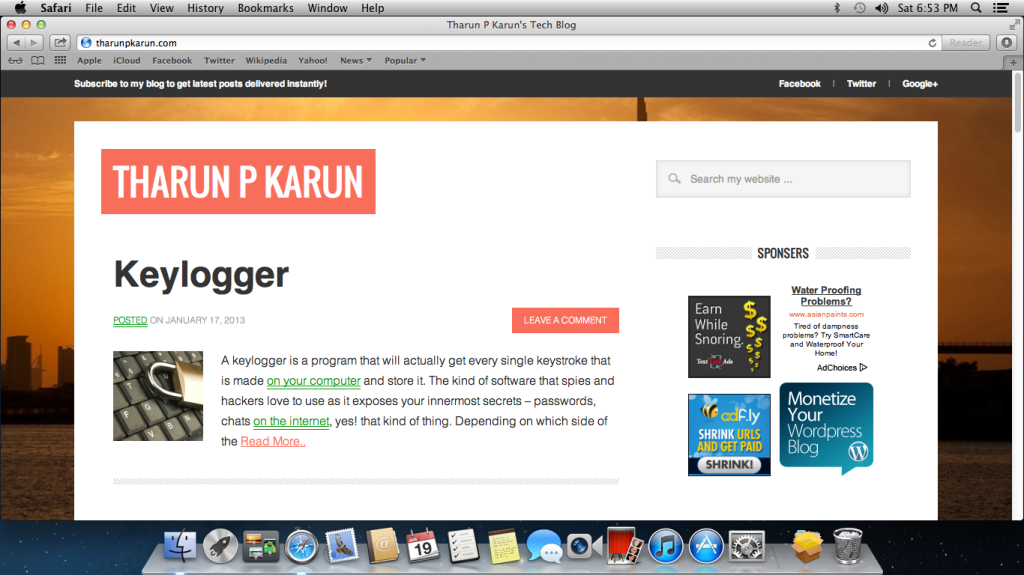
Now you can see the beautiful desktop in full screen with your native resolution of your computer and yes almost all the functions available on the Mac OS X Mountain Lion is available (Depends upon your hardware and VMware limitations).
That’s All! You can now try this & comment on my blog!
Pages: 1 2


